Select Publish -> Tour, from the side menu.
You have additional publishing options available for your virtual tour:
Protection
Expiring Dates
Meta Tag
Share & Embed
Virtual Reality
Protection
You can block every tour by password or restricting access only after providing contact information (lead).

Expiring Dates
You can publish each virtual tour at a precisely specified time. Set the Start Date and End Date. You can also specify a Redirect URL to which the user will be directed when the tour expires.

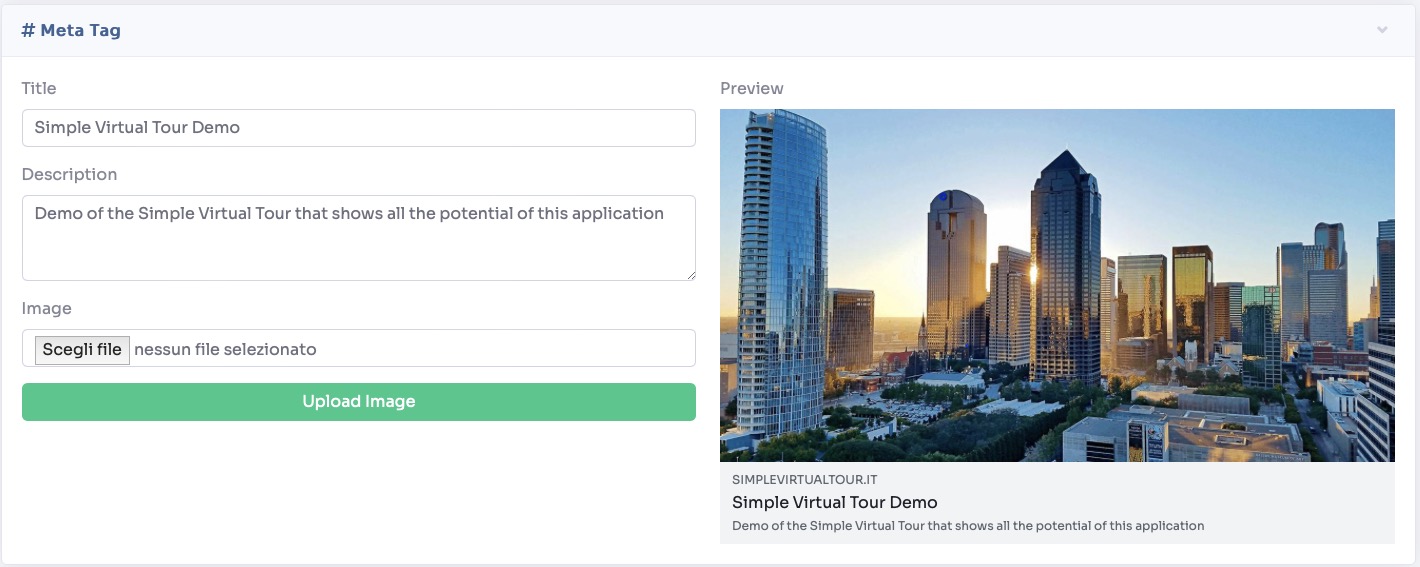
Meta Tag
Fill in the fields for Title and Description, and add a thumbnail or image to let preview the tour link when sharing it.

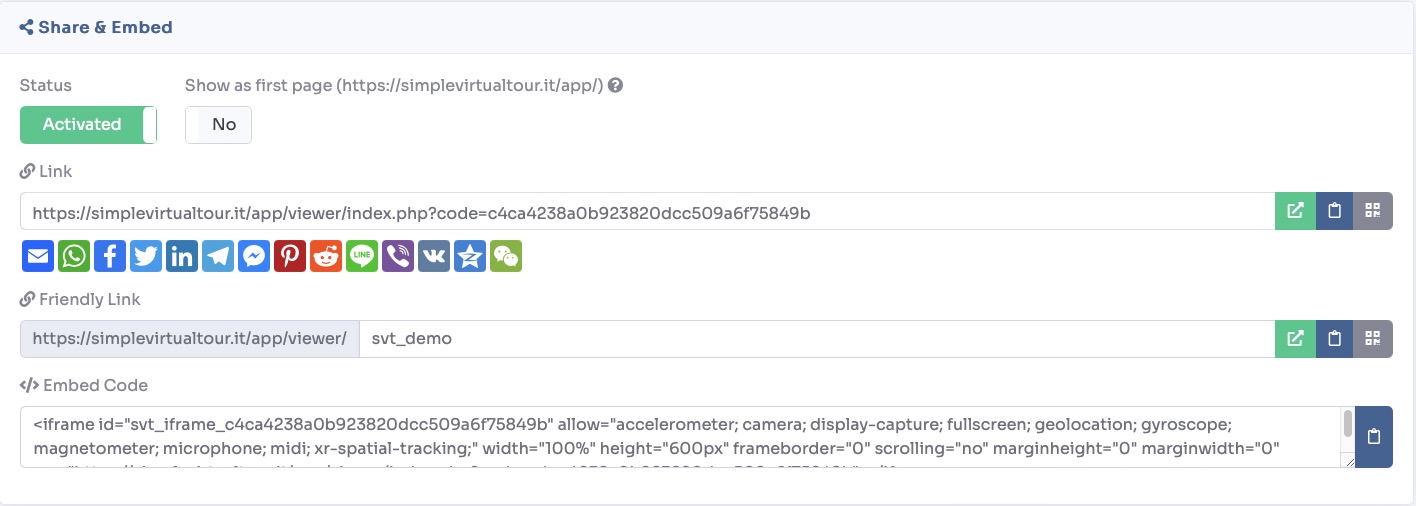
Share & Embed
Every created virtual tour is automatically published with a permanent link.
To un-publish a tour, change its status to "Deactivated".
You can set a tour to open on first page of your site by checking "Show in first page".
You can share each tour on multiple platforms and also send it via messaging apps or email.
You can assign a friendly link to each virtual tour.
To publish a tour on any website, such as your WordPress editor, use the Embed Code.
The icons on the right side are used for opening the link, copying and generating the QR code.

Virtual Reality
The VR tour publication also offers similar options. VR tours allow viewers to explore the virtual space from different perspectives by changing their position or viewing angle.
