Globe View provides a unique perspective where the virtual tour is displayed on 3D globe. It allows users to navigate and explore different locations as if they were traveling around the world. This feature can be particularly useful for showcasing virtual tours with geographically diverse content or highlighting multiple locations.
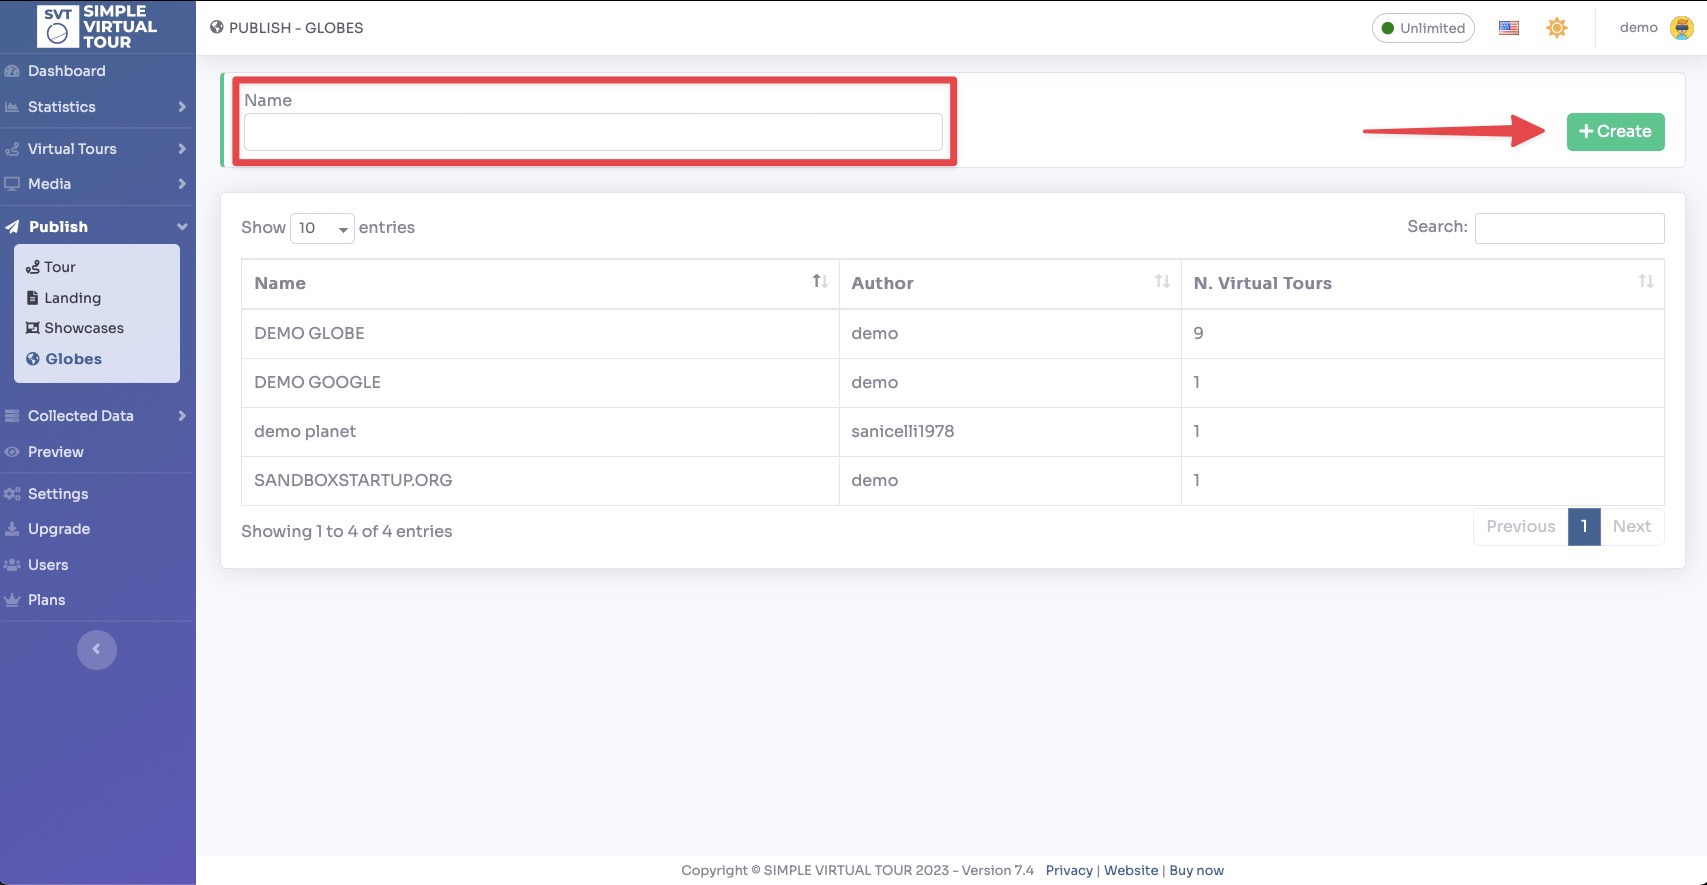
Select Publish - Globes, from the side menu.
In the Name field, enter the name of the new Globe. Confirm the operation by clicking the "+ Create" button.
After creating it you will be redirected to the globe settings page, where you can change the following parameters:
Name, The name of the globe
Type, The default one or the one with Photorealistic 3d tile from Google
Default View, You can choose whether to set the satellite or road view
Point Size, Size of the tour placement point
Zoom Duration, Duration of the zoom animation to the point
Point Color, Color of the tour positioning point
Point Border, Color of the dot border
Minimum Altitude, It is used to limit the minimum height for which to zoom
Initial Altitude, Initial height at the loading of the globe
Center Latitude / Longitude, Initial coordinates of the globe (leave blank to center all tours)
Logo, Image to be displayed in the upper left globe
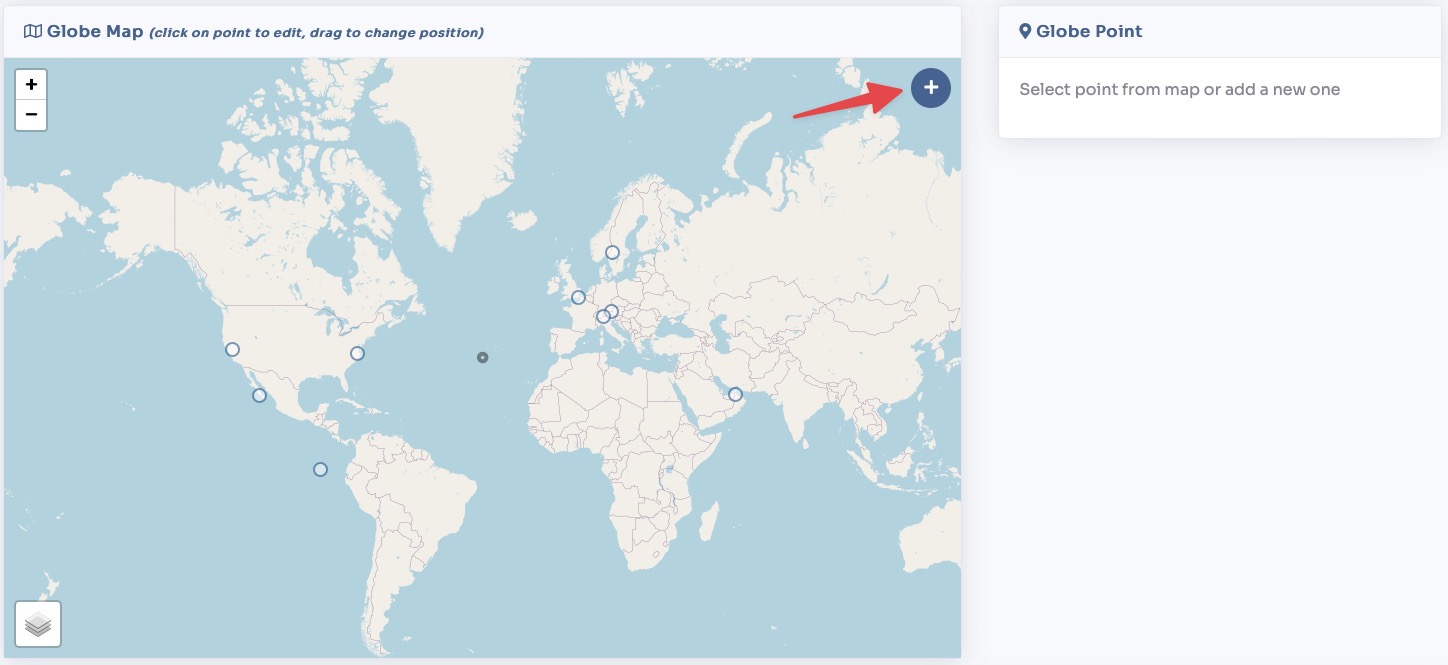
To assign virtual tours to a Globe Map click on "+" icon.
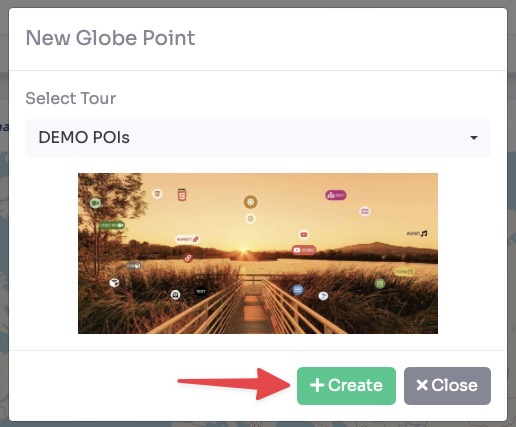
A modal will open where you can select the tour. To add it click on the "+ Create" button.
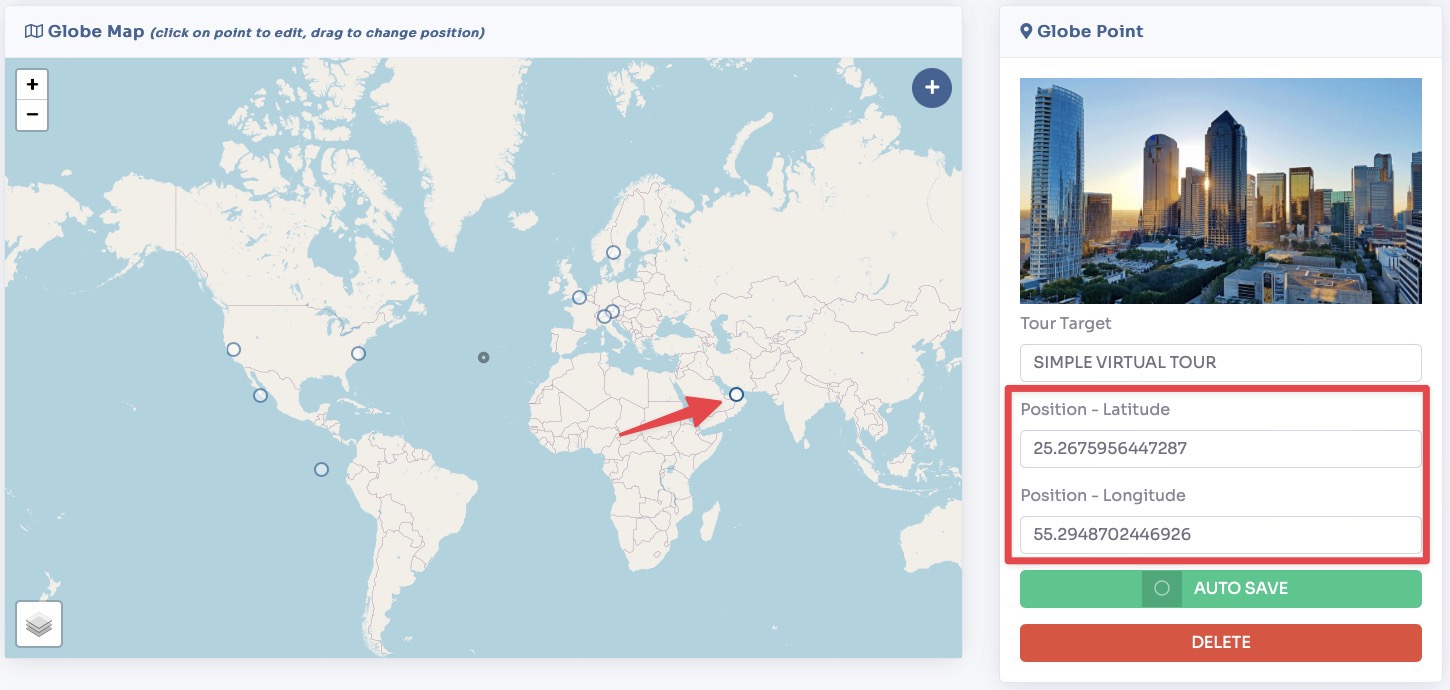
Once entered you can click on the point and drag it to change its position, or manually enter the coordinates in the latitude or longitude fields.
Scrolling further down the page you will find sections to change the globe's meta tags and publish link /embed code.
